-
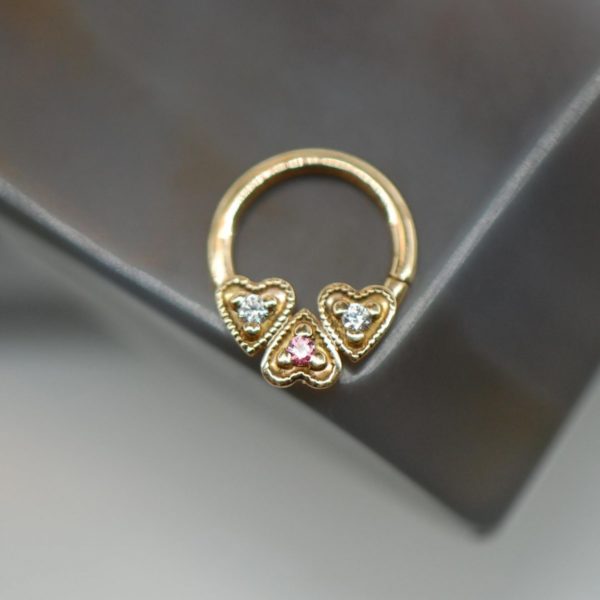 Triple Heart Seam Ring
$200.00Original price was: $200.00.$175.00Current price is: $175.00. -
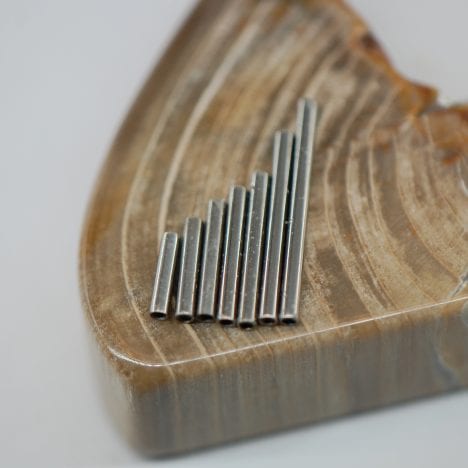 14g Internally Threaded Straight Barbell
$20.00
-
 14g Internally Threaded Curved Barbell
$30.00
-
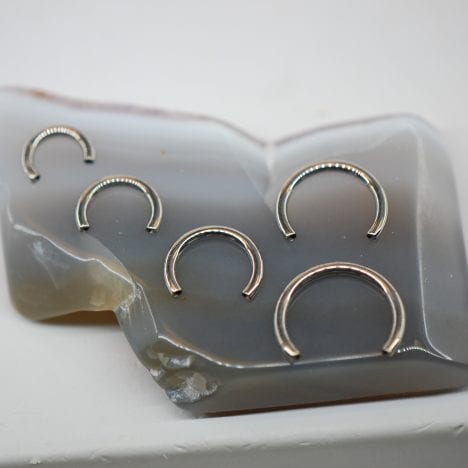 14g Circular Barbell
$35.00
Cleaning Solutions
The following solutions are safest to clean your healing piercings when used as directed by your piercer:
For Oral Piercings:
What to Avoid?
Avoid the use of harsh chemical products such as:
Cleaning Instructions
- Wash your hands thoroughly prior to cleaning or touching on or near your piercing.
- Gently clean the area surrounding your piercing using a mild soap at least once a day. Lather a pearl-sized drop of soap in your hands and use the suds to clean around the skin. If your lifestyle involves working out, going to the beach, working with animals, or other generally ‘dirty’ environments, then its recommended to wash more thoroughly around your piercing after participating in said activities. (Your regular face and body wash can be used everywhere else as per usual.) Be sure to rinse thoroughly to remove all traces of soap from around the piercing. Do not let any soap or body wash get into or on your piercings. Do not twist, spin or rotate your jewelry for any reason.
- After cleaning, dry your piercing with a disposable paper product such as non-woven gauze, paper towels. Products like cotton balls, swabs, tissues and toilet paper can leave behind an unwanted lint residue therefore they’re not ideal for drying. Pat gently to avoid trauma. Avoid using bath/hand towels because reusable cloths can harbor bacteria and cause harm to your healing piercing.
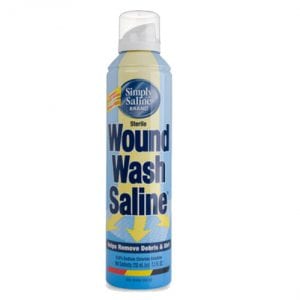
- Use Saline Wound Wash 3-5 times daily to clean any crust or debris that may form on or around your piercing. If you’re using H2Ocean its recommended for use only 2-3 times daily.
Warm Compresses are not part of your everyday cleaning routine, but can be done as needed to calm/prevent irritation of your piercing. Simply spray your wound wash saline onto a clean piece of non-woven gauze until damp and then place the gauze into the microwave to heat it up (10-30 seconds depending on microwave). Make sure its warmer then your body temperature and hold it up to your piercing for 5-10 minutes. You may need to reheat the gauze if it begins to cool down. A brief rinse with water afterwards will remove any remaining saline residue. Be sure to dry the area after compressing.
For Oral Piercings
- Maintain good oral hygiene! Its important to brush after meals as recommended (2-4 times daily). After getting a new oral piercing, you should replace your old toothbrush with a new one that is clean and free of any of your old bacteria. Don’t forget to brush your jewelry as well to prevent any plaque build up.
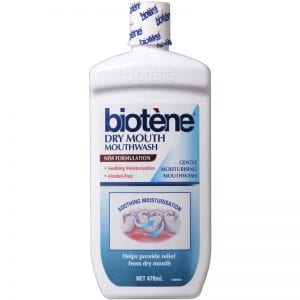
- Rinse with an alcohol free mouthwash after any meals or after biotenesmoking. Depending on how often you eat or smoke, its possible to end up over-rinsing which can irritate the cheeks and gums. We’ve made a guide that goes over rinsing frequently and when to start watering down your mouthwash.
First week: if you rinse more then 6 times daily, water down the 7th rinse and on. Weeks 2-3: if you rinse more then 5 times daily, water down the 6th rinse on. 3 weeks onward: if you rinse more than 3 times daily, water down beyond that. To water down your mouthwash, use half the amount you would typically use to rinse and add equal parts clean water.
Tips for Oral Piercings
Its fairly common for oral piercings to have a lot of swelling so a few things you can do to help reduce the swelling include: drinking cold drinks, eating cold foods or sucking on ice chips, and taking an over the counter anti-inflammatory (if it is safe for you to do so). Don’t forget to downsize your jewelry in the appropriate time frame! It is extremely important to downsize the jewelry once the initial swelling has gone down to prevent it catching on or irritating your teeth and gums.
What to Expect:
Initially: some bleeding, localized swelling, redness, bruising or tenderness.
During healing: some discoloration, itching, and the secretion of a whitish-yellow fluid (not pus) that will form crust on and around the jewelry. The tissue may feel tight around the jewelry. Mild swelling is also still normal during the first couple months of healing.
Once healed: The jewelry may move more freely in your piercing. You may see little to no secretion/crust on and around the piercing. Your piercing won’t feel tender to the touch and will be able to be changed without issue. Keep in mind that its common that a piercing may seem healed long before the healing process is complete. This is because piercings heal from the inside out, and although it may feel healed, the tissue remains fragile inside. Be patient, and keep cleaning throughout the entire healing period.
Even healed piercing can shrink or close in minutes after having been there for years. This varies from person to person but remains a possibility. If you like your piercing, please leave the jewelry in place.
What Not to Do:
Tips and Tricks For Navel:
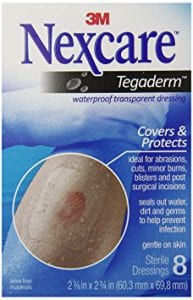
A hard, vented eye patch (sold at drugstores) can be applied under tight clothing (such as nylon stockings) or secured using tape or a length of ace bandage around the body (to avoid irritation from adhesive). This can protect the area from restrictive clothing, excess irritation, and impact during physical activities such as contact sports. Avoid high waisted shorts or anything that will put pressure on the piercing.
For Ear Lobe/Ear Cartilage and Facial:
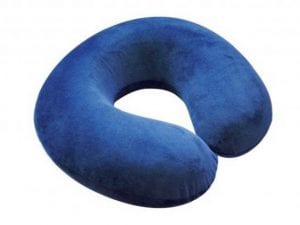
Maintain cleanliness of telephones, headphones, eyeglasses, helmets, hats and anything that contacts the piercing area. Use caution when styling your hair, and advise your stylist of a new or healing piercing. Use the T-shirt trick: dress your pillow in a large clean t-shirt and turn inside out/ over nightly. One clean t-shirt provides four clean sleeping surfaces. If you are a side sleeper or are struggling with sleeping on your piercing at night, consider investing in a travel pillow. Turned sideways with your ear in the hole allows you plenty of support to sleep while protecting the ear from any excess pressure. Try to avoid getting shampoo/conditioner/face wash in the piercing. Rinse the area thoroughly after showering or cleaning.
Jewelry
Unless there is a problem with the size, style, or material of the initial jewelry, keep the original jewelry in place for the time period advised by your piercer. A qualified piercer should perform any jewelry changes that may be needed during healing.
Contact your piercer if your jewelry must be removed (ex: for a medical procedure). There are non-metallic jewelry alternatives and if you’re wearing implant grade titanium, that material is MRI safe.
Be sure to regularly check threaded ends on your jewelry for tightness. (Righty tighty, Lefty loosey). If you feel as if a piece is loose or you’re unable to tighten something yourself, visit your local piercer for assistance.
Should you decide you no longer want the piercing, seek professional help in the removal of the jewelry and continue cleaning the piercing until the holes are closed. In most cases a small indention will remain.

